The Essential Guide to **Plastering Your Pool**
When it comes to maintaining a beautiful and functional swimming pool, understanding the process of plastering a pool is crucial. Not only does the plastering enhance the aesthetic appeal of your swimming oasis, but it also provides vital protection against water intrusion and structural damage. In this guide, we'll explore the ins and outs of pool plastering, the different materials available, and the steps involved in achieving a perfect finish.
Why Plastering Your Pool Is Essential
Plastering is one of the most important aspects of pool maintenance. Here are some reasons why:
- Protection: The plaster acts as a barrier, protecting the concrete pool shell from harsh chemicals and water erosion.
- Aesthetics: A freshly plastered pool gives a clean and polished look, transforming your backyard into a luxurious retreat.
- Longevity: Regular plastering can extend the lifespan of your pool, ensuring that it remains a safe and enjoyable space for years to come.
- Surface Texture: Properly plastered surfaces reduce the growth of algae and bacteria, making it easier to maintain clean water.
Understanding Pool Plaster Materials
Before you begin plastering your pool, it's essential to understand the different types of materials available. Here are the most common choices:
1. White Plaster
White plaster is the traditional choice for pool finishing. It is made from a mixture of cement, sand, and water, providing a classic and timeless look. While it is economical, it can become stained over time and may require more frequent upkeep.
2. Color Plaster
For a more customized appearance, colored plaster is an excellent option. Available in a variety of shades, colored plaster can complement the overall aesthetic of your backyard. It's made similar to white plaster but includes pigments that provide a unique hue. Maintainability can vary, depending on the color selected.
3. Aggregate Plaster
Aggregate plasters, such as quartz or pebble finishes, add texture and durability to your pool surface. These materials involve mixing plaster with aggregates to create a stunning, multi-dimensional effect. They are more resilient to wear and staining, making them a popular choice for luxury pools.
Preparing for Pool Plastering
Preparation is key to a successful pool plastering project. The process involves several critical steps:
Step 1: Drain the Pool
First, you need to completely drain the pool. Ensure you have proper drainage set up to avoid flooding your backyard. Once drained, evaluate the structural condition of the pool.
Step 2: Inspect the Surface
Examine the pool's surface for cracks, chips, or any damage. Address these issues with repairs before proceeding. Filling in gaps and smoothing out rough areas will lead to a better finish with the plaster.
Step 3: Choose Your Plaster
Select the type of plaster you wish to use based on your budget and design preferences. Consult a professional if you are uncertain about which option to choose.
Step 4: Gather Tools and Materials
Ensure you have all necessary tools on hand. Essential items include:
- Plaster mix
- Bucket for mixing
- Trowels
- Float tools
- Spray mist system (for hydration)
Steps to Perfectly Plastering Your Pool
Now that you've prepared, it’s time to move forward with the plastering procedure. Here is a step-by-step breakdown:
Step 1: Mixing the Plaster
Follow the manufacturer's instructions for mixing your plaster. Achieving the right consistency is crucial for a smooth application. Typically, the mix should be thick enough to stay on your trowel without dripping.
Step 2: Applying the Plaster
Start at the shallow end of the pool, applying the plaster evenly across surfaces with a trowel. Use consistent pressure for an even finish, working your way deeper into the pool. This method ensures that the plaster adheres well to the pool shell.
Step 3: Floating the Plaster
Once the plaster is applied, use a float tool for smoothing out the surface. This step is vital for reducing imperfections and achieving a glassy finish. The floating tool should be used in a gentle, sweeping motion.
Step 4: Curing the Plaster
Proper curing is essential for the longevity of your pool plaster. Keep the plaster moist for several days to prevent cracking. You can do this by frequently misting the surface with water. This hydration process should last at least a week to ensure a strong bond.
Step 5: Filling the Pool
Once curing is complete, it’s time to fill the pool. Fill it slowly to avoid damaging the new plaster. It is also advisable to run your filtration system during this process to circulate the water.
Post-Plastering Care and Maintenance
After you have successfully completed the plastering process, maintaining the integrity of your pool is paramount. Here are some useful maintenance tips:
1. Regular Cleaning
Keep your pool clean by brushing the walls and floors regularly. This helps remove algae and debris that can lead to staining and surface degradation.
2. Water Chemistry
Maintain optimal water chemistry to prevent damage to your plaster. Regular testing can help balance pH and chlorine levels, minimizing the risk of etching or discoloration.
3. Avoid Harsh Chemicals
Avoid using harsh chemicals that can erode the plaster. Always follow guidelines for chemical use, and consult a pool professional if you're unsure about the best practices.
4. Regular Maintenance Checks
Periodically inspect your pool for cracks, chips, and moisture issues. Early detection is key to preventing extensive damage and ensuring your pool remains a safe haven.
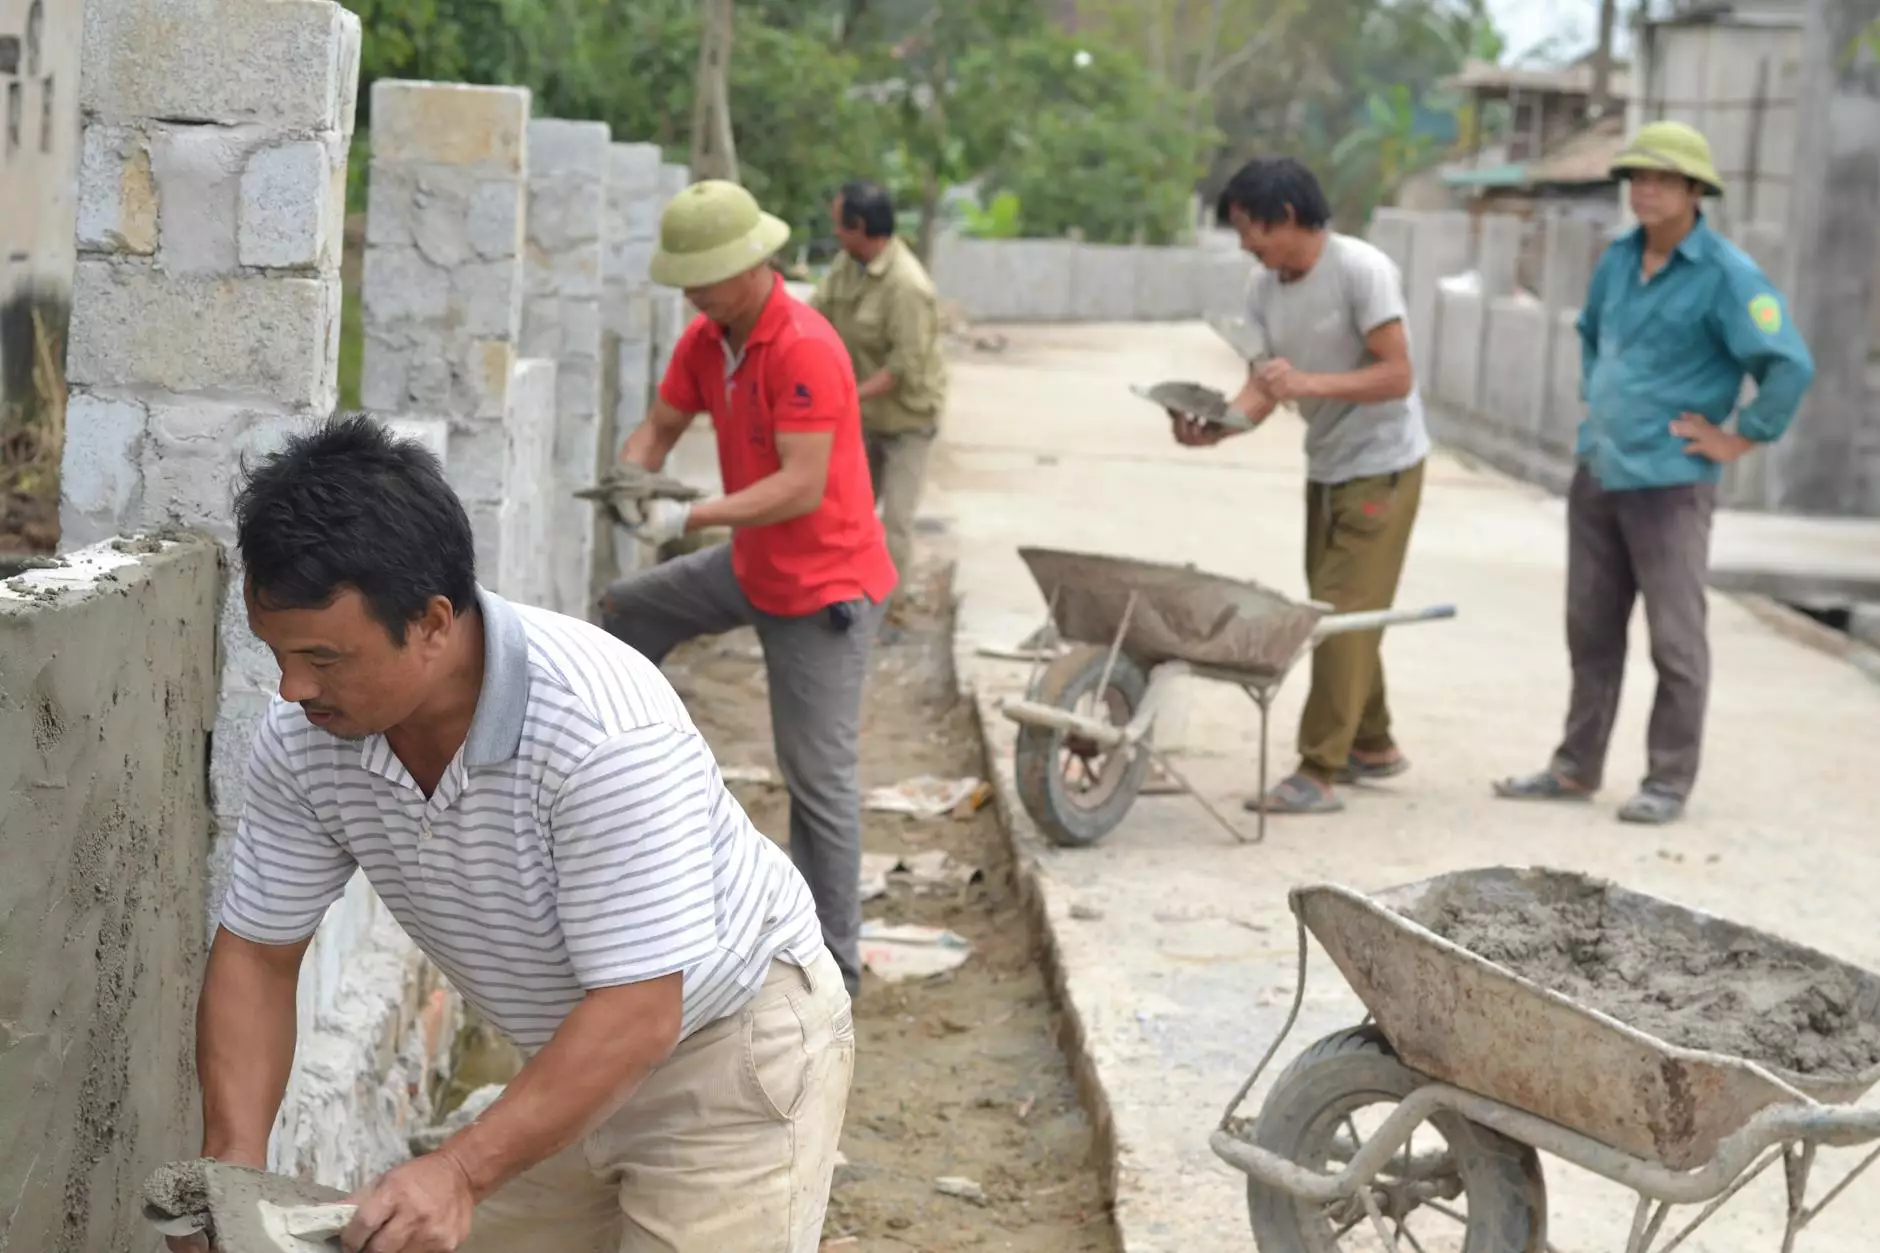
Investing in Professional Plastering Pool Services
While many pool owners choose to tackle plastering as a DIY project, enlisting the help of professionals can save time and ensure high-quality results. Here are some benefits of hiring experts:
- Expertise: Professionals bring years of experience and knowledge about different plaster types and application techniques.
- Quality Equipment: They have access to specialized tools and materials, guaranteeing a more precise and long-lasting finish.
- Time Efficiency: Professionals can complete the job quicker due to their expertise, allowing you to enjoy your pool sooner.
- Warranty: Most professional services provide warranties for their work, giving you peace of mind in case of future issues.
Conclusion
Being knowledgeable about the process of plastering your pool is invaluable for any pool owner. From selecting the right materials to ensure impeccable application, understanding the complexities can help you maintain a stunning and functional swimming environment. Whether you choose to do it yourself or hire a professional, proper care and maintenance post-plastering will keep your pool looking pristine for years to come.
At poolrenovation.com, our team is dedicated to providing top-notch services including swimming pool renovations and water heater installations/repairs. Whether you’re looking for expert advice or professional plastering services, we are here to help you transform your pool into a luxurious retreat.